Required Software Tools - Comp 110
For Comp 110, you will need to install the following on your laptop computer. Be sure that you have the latest version (non-beta test) of all these. The tools are listed in order of importance and priority. See Tool Setup for information on how to configure each tool for proper use. We will be installing Java and Eclipse during the first lab session.
1. Java - go to the Sun website
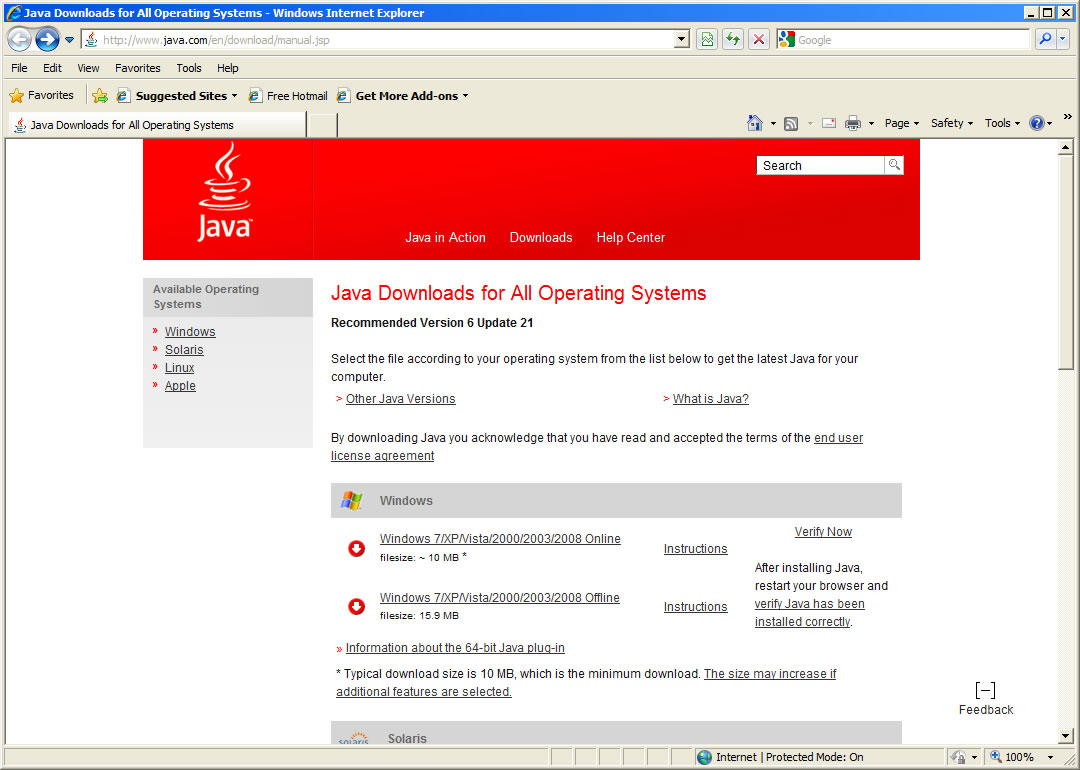
Choose the first download link (online not offline) and Run (not save to disk).
2. Eclipse - On the "Eclipse Downloads" page, an "Install Guide" link can be found on the right hand side. This will be useful if you run into difficulties. Choose the first option "Eclipse IDE for Java Developers, 99MB". The download link is on the right hand side.
You will need to choose either "Windows 32 bit" or "Windows 64 bit" depending on which version of Windows is installed on your computer. If you are not sure, right click on the "Computer" icon and selecty "Properties". Under "System/System Type" it will tell you if you have the 32 or 64 bit version.
Open the download. This may take a long time to download.
Unzip the downloaded file. You will want to create a separate directory to contain Eclipse. It does not matter where this directory is or what you call it.
Once it is uzipped, installation is complete. To run Eclipse, open the folder for the download and launch the blue, circular icon labelled "eclipse". It is of file type "Application."
The first time you run Eclipse, it will show you a dialog box to "Select a workspace". It does not matter where the workspace is located, but, for convenience, you probably want to check the box "Use this as a default and do not ask again".
When launched, you will see a screen with several icons (If you exited the Welcome screen, go to Help -> Welcome)
Select the rightmost icon, Workbench, to write a Java program.
Read the Tutorial available (bottom-most icon).
To create a new program, in the workbench, go to" File/New/Java project" (not just "Project"). Name your project "program1".
Select program1 in the PackageExplorer then click "File/New/Class". Name your class "FirstProgram". It is important that the class name is exactly as shown in listing 1.1. "firstProgram" "First Program", etc. will not work. Computers are very picky.