|
|
Aims | Current state | Simulation
results and Discussion | Source code and
binaries | References | email: golas
at cs dot unc dot edu |
Aims:
This assignment had the following aims:
- Build a (basic, whitted) ray tracer
- Implement basic projection models, primitives
(sphere, triangle) and shading methods
- Try out sampling and reconstruction techniques
I’ve built a basic ray tracer with the following features
- Basic projection methods (orthographic, perspective),
primitives (sphere, triangle), shading methods (Phong - with reflectance,
no transparency) .
- Multiple samplers (Uniform, Jittered,
Hammersley, N-rooks) and reconstruction filters (Box, Tent, Gaussian,
Mitchell-Netravali).
- An XML based parser
Ray Tracer structure:
The ray tracer is based on OOP. There are primarily 4 classes:
- Camera: Defines a
camera, and takes care of the coordinate system initialization, generating
rays and collecting them to write the image. Is derived into orthographic
and perspective cameras. The camera class takes care of shooting all rays,
primary, reflected or transmitted.
- Object: Defines a
basic object. Is derived into sphere and triangle.
- Shader:
Defines a shader that provides color for a
pixel. Each object will have a shader attached
to it. Is derived into Phong.
- Light: Defines a
light. If derived into a point light
These classes are combined by different classes. The class Scene
combines all objects and lights. The primary class Apollo contains the Scene,
Camera and contains an XML based parser. The implementation also uses a
rudimentary math library which contains implementations of 3-dimensional points
and rays.
Image Rendering Flow:
algorithm generaterays {
Using camera and sampler,
generate rays
foreach
ray {
shootray
and collect color value
}
use reconstruction filter to
collate the value at pixel
}
algorithm shootray {
find nearest object the ray hits
if an intersection occurs
{
find color at point
using object’s shader and shoot shadow/light
rays -> ambient component + diffuse and specular
components from all visible lights
recurse
and shoot reflected and transmitted rays with contribution scaled by
reflectivity
}
}
Other Comments:
Currently rays are shot sequentially, in further assignments, I
aim to construct a ray queue and shoot blocks of rays and use SMP to
parallelize and speed up computation. I also aim to add other shading models
and texture mapping support.
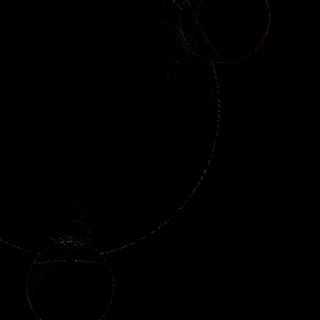
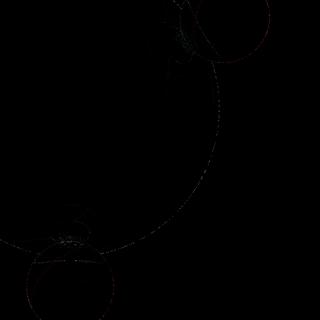
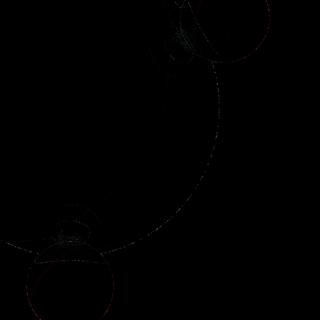
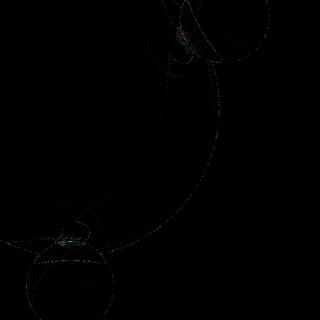
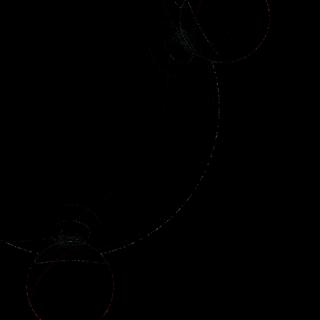
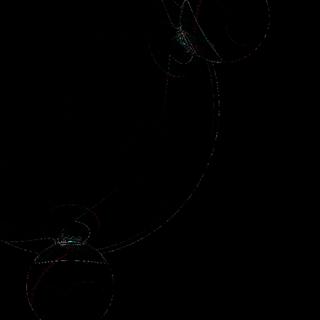
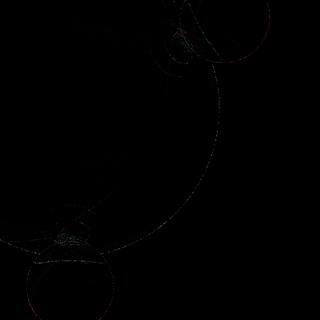
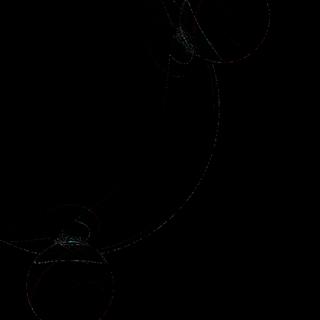
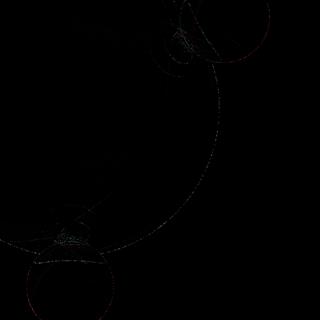
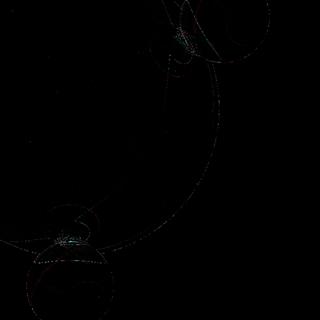
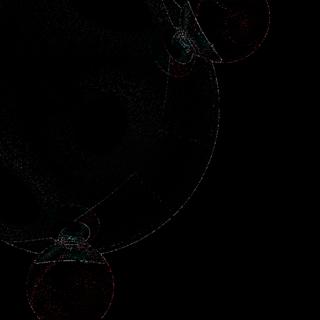
Simulation results
and Discussion:

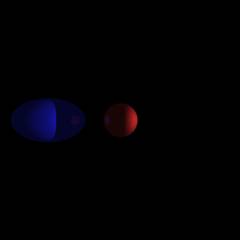

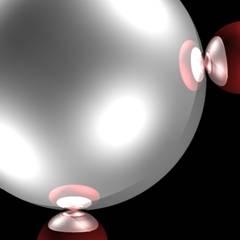
Image 1 Image
2
Image 3 Image 4
Among sampling techniques, I have
implemented the following samplers:
- Uniform: This I only implemented as a reference to
gauge the performance of other samplers
- Jittered: A generic random number generator (from
Real Time Rendering) is used to generate pseudo-random perturbations to
the tiled positions inside the pixel. This RNG is simply used due to the
claim of being thread safe which will be necessary as I plan to
parallelize the ray tracer later.
- N-rooks: This sampling is implemented as described in
the lecture slides. Points are placed on the diagonal and randomly
perturbed along their columns so as not to place 2 points on one row. In
case of a conflict, an attempt is made to randomly choose a new location;
else a linear search is used to find a new empty spot.
- Hammersley: Using a pre-existing implementation to
generate a Hammersley sequence in 2 dimensions. In order to avoid tiling
artifacts, instead of taking samples 1…n, we take samples k…(n+k), where k is a
randomly generated integer in the range 1…N, where N is some maximum
value. For now, it is set to 100.
The number of samples per pixel can be set
by the user. For the current examples, it has been set to 9 samples per pixel.
Among reconstruction filters, I have
implemented the following:
- Box: This simple averaging filter is implemented just
as base to benchmark against.
- Tent: This is implemented by taking weights from a
cone having a base of a unit circle covering the pixel in consideration.
The weights are adjusted to sum up to 1 in order to prevent spurious gains
or losses.
- Gaussian: The Gaussian filter is implemented as a
normal distribution with unit standard deviation. The weights are again
adjusted to sum up to 1.
- Mitchell-Netravali: This filter is implemented as described
in lecture slides, with the values of the 2 coefficients set to 1/3. The
distances are scaled in order to derive the value from the samples for a
single pixel only.
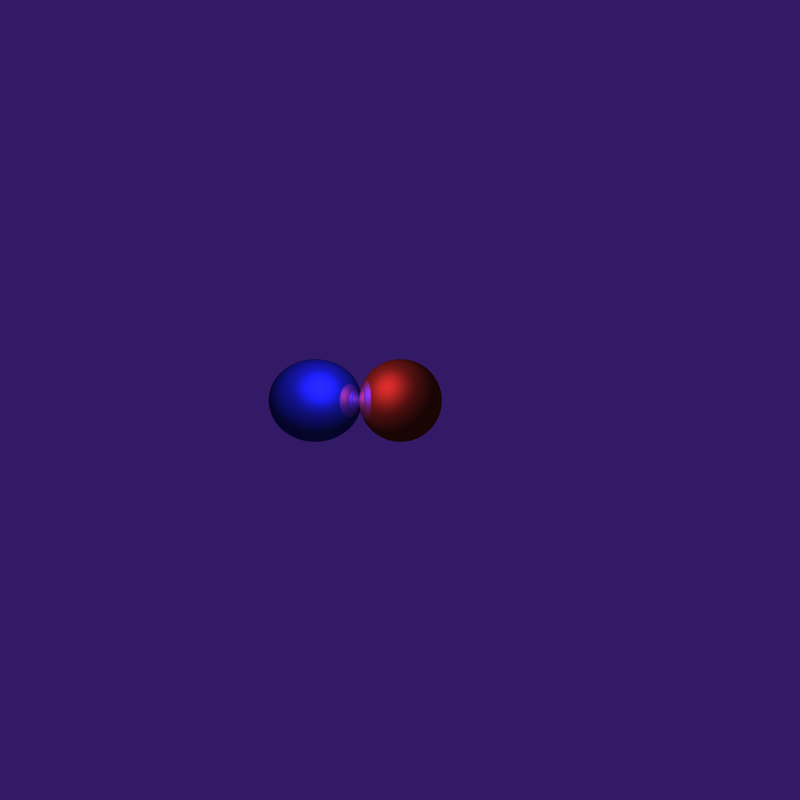
For measuring the performance of different
filters, a base image was rendered the scene using 81 samples per pixel with a
box filter and uniform sampling, and difference images are used to rate the
different sampler-filter pairs.

Rendered Images:
|
Sampler\Filter |
Box |
Tent |
Gaussian |
Mitchell-Netravali |
|
Uniform |
|
|
|
|
|
Jittered |
|
|
|
|
|
N-rooks |
|
|
|
|
|
Hammersley |
|
|
|
|


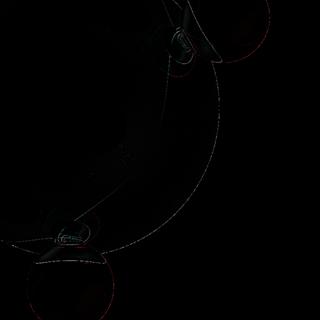
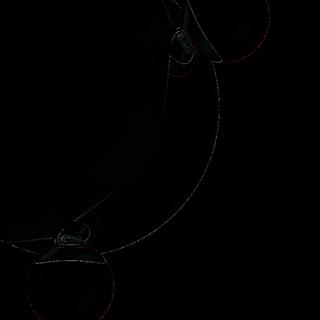
Difference Images:
|
Sampler\Filter |
Box |
Tent |
Gaussian |
Mitchell-Netravali |
|
Uniform |
|
|
|
|
|
Jittered |
|
|
|
|
|
N-rooks |
|
|
|
|
|
Hammersley |
|
|
|
|


Comparison among
samplers:
Amongst all samplers, the Hammersley
sequence has most pronounced differences with the base image. In addition to
expected differences along object edges, there are noticeable differences
inside the shaded object, the effect being most pronounced when using a tent
filter. It seems apparent that the quasi-random sequence is introducing its own
patters into the rendered image. However, it enhances the sharper features in
the image by reducing the pixelation of edges which outweighs the problem of
noisy patterns especially when used with a Gaussian or Mitchell-Netravali
filter.
The N-rooks and uniform sampling strategies give
similar performance in terms of image quality. However, since the n-rooks
method used noise, it reduces the pixelation of edges, but at the cost of
introducing certain noise into the image. The Jittered sampling scheme gives
combines the best of both as it enhances edges without introducing exceedingly
spurious noise. It reduces edge pixelation with less of noise artifacts.
Comparison among
filters:
Among the filters, the Gaussian filter gives
smoother results than either the tent or the Mitchell-Netravali filters.
However, in the example taken, the Box and Gaussian filters give almost exact
results visually, which is an unexpected result. The tent filter gives patterns
when used with Hammersley sampling which suggests that the dominant frequencies
of the sequence are enhanced by the filter. Overall, the Gaussian filter gives
the best results when used with such random or pseudo-random sequences as it
nullifies the high frequency noise usually induced by such sampling, while not
causing any ringing effects introduced by other filters (like truncated sinc).
The images used to generate the difference
images above can be found here, while the
full resolution difference images can be found here.
Some other sample images are also located here.
- Full source and
test scenes (Visual C++ 2005):
- <Apollo>: contains
project source
- <libs>:
contain dependencies for the project
- <tests>: rendering
examples shown on this page
- <debug>,<release>:
binaries, please prefer release binaries
- Executable
binaries and DLL dependencies (Win32)
- Lecture slides (for sampling and
reconstruction methods)
- MIT
course on graphics (for some reference)
- Hammersley
sequence generation code
- Realistic Ray Tracing, 2nd Edition - Peter
Shirley (for random number generation code and basic reference)
- Real Time Rendering – Moller, Haines (for optimized sphere and triangle
intersection pseudo-code)
- OpenCV
library (for Image I/O)
- Expat XML paersing
library (for scene input parsing)
Site last updated: Monday, September 8, 2008 12:00 AM