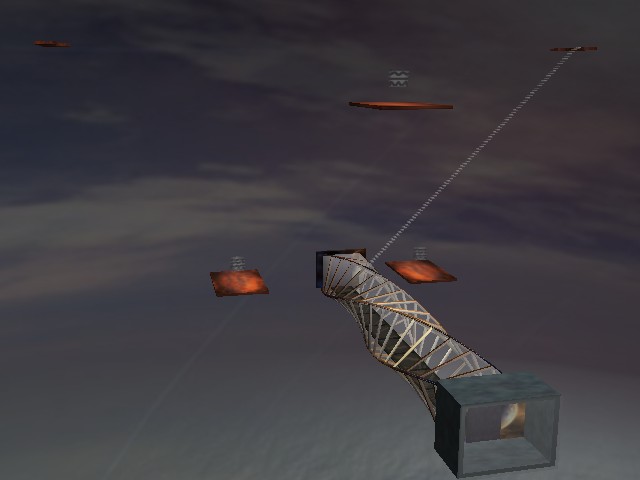
 Figure 1: A view of the environment I created for this assignment.
In this assignment, we were to explore using 3D Studio Max to model an interesting virtual environment. I wanted to create a science fiction-style environment, and I took the opportunity to play with various modifiers in Max. I was trying to create an environment which was somewhat unrealistic, hence the ridiculously long escalator you can see in the distance in Figure 1. I also wanted to get transparency to work in my environment, so I will describe what I had to do to get that working. In addition, I took my escalator code from my Assignment 1 and made it more robust (although there is still a bug in it that in certain cases will cause the user to almost instantly be sent to the end of the escalator -- I think I know what the problem is but I have not yet had time to correct it) and threw a couple of escalators/virtual walkways into this assignment as well.
Figure 1: A view of the environment I created for this assignment.
I made heavy use of the compound Boolean object to create various parts of the environment. The transparent tube walkway doors (Figure 2) and the walkway itself (Figures 3-5) were created using the Extrude modifier in Max. In each case, I created a series of line segments defining the basic shape of a 2D slice of each object, and then extruded this outline into a 3D shape. The latches on the doors were created using Boolean operations. After extruding the tube shape, I used the Lattice modifier to give the tube its structural struts. I used the Twist modifier to give the tube its twisted shape. The tube actually consists of three objects: the tube lattice, an outside transparent tube, and an inside transparent tube. This was done to give the tube windows some thickness, as well as to allow transparency effects to work from both outside the tube as well as inside.
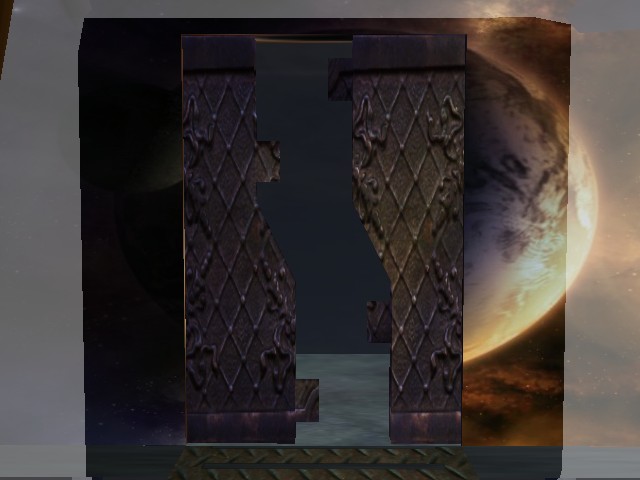 Figure 2: The tube walkway doors.
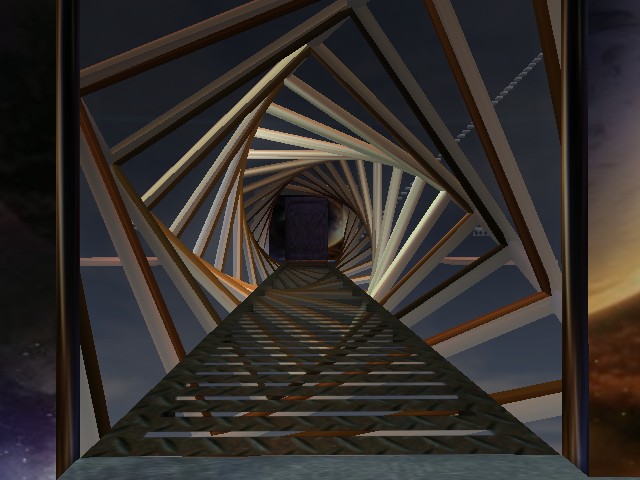 Figure 3: A view of the transparent tube walkway.
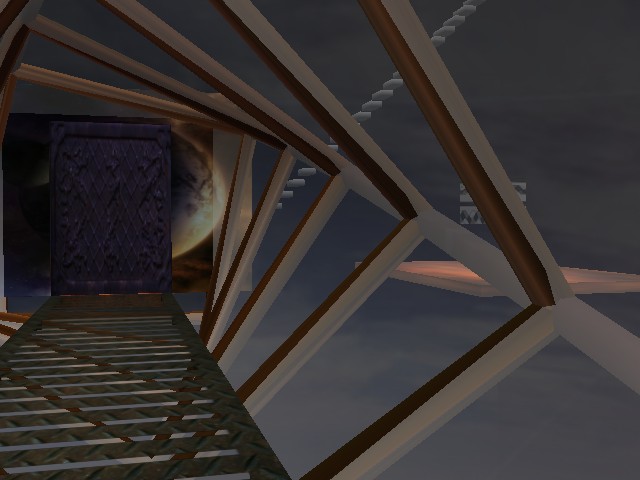 Figure 4: A view of the transparent tube walkway while on the
walkway.
Figure 4: A view of the transparent tube walkway while on the
walkway.
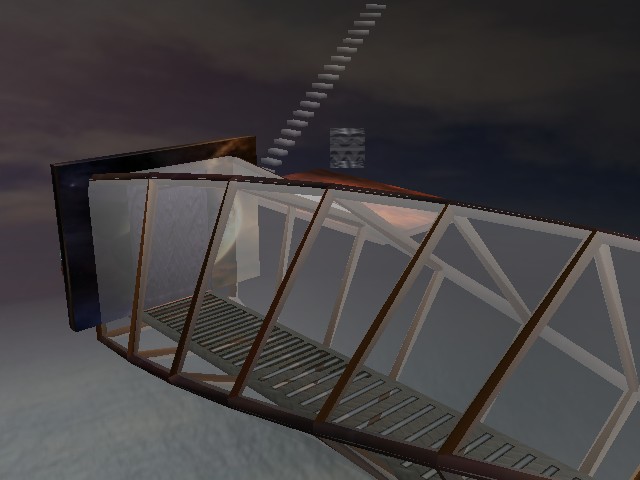 Figure 5: A view of the transparent tube walkway from the
outside.
Figure 5: A view of the transparent tube walkway from the
outside.
In order to get animated lighting effects, I created several Omni lights in the scene. One such light continuously moves across the tube walkway at 20m/sec to give a neat lighting effect in the tube. I also used Omni lights created in 3DS Max 7 and exported using Chris Oates' version of the Wild Magic exporter for the green beacons on the edge of the first platform (Figure 6). These lights flash periodically, and when the light is turned on, the beacons are also given a green emissive material value. There are also some directional and ambient lights in the scene.
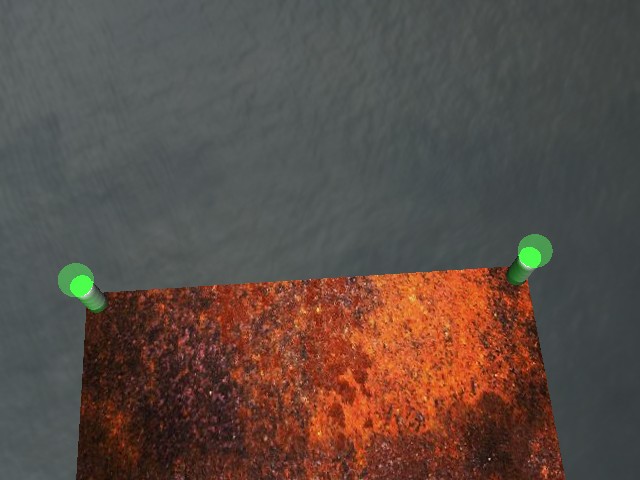 Figure 6: The beacons at the edge of the first platform, looking
down into the water.
Figure 6: The beacons at the edge of the first platform, looking
down into the water.
As mentioned earlier, many of the objects in my environment are transparent. The back wall of the initial alcove where the user starts, the tube windows, the virtual moving walkway, the escalator (Figure 7), the rotating cubes on various platforms (Figure 8), and the skysphere (discussed later) are all transparent in one form or another. The escalator, the tube windows, and the back wall of the alcove were made transparent using a transparent material in Max. The moving walkway has a texture applied to it that has transparent sections, allowing users to see through parts of the walkway when looking down. The rotating cubes have both a transparent material property as well as a texture with transparent sections applied to them. I created/modified existing textures using a paint program to save the images as .GIF files with transparency. These were applied as maps in Max, and exported to Wild Magic without any problems. Most of the textures in my environment were found on the web or in the set of Texture Universe CDs that we have (the skysphere textures were from Continuum Skies. I modified some of these for transparency purposes.
 Figure 7: A ridiculously long transparent escalator.
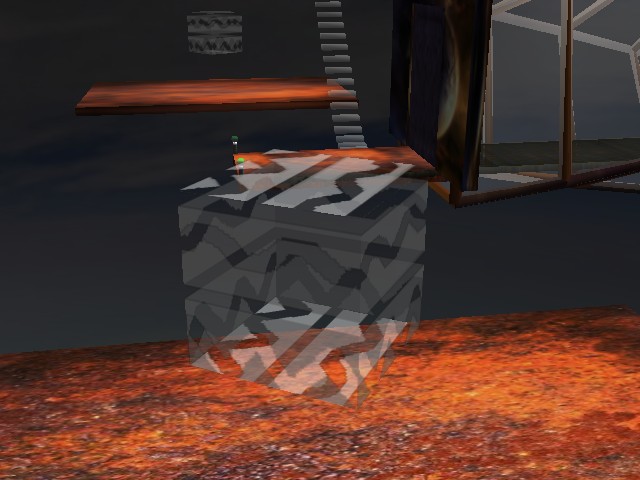 Figure 8: A transparent rotating cube.
Getting transparent objects to render properly in Wild Magic required some effort. In general, the problem with transparent objects is that they need to be depth-sorted from back to front so that transparent objects will not be hidden by other objects in the scene, and so transparency effects will be done in the proper order. This depth sorting has to be done in a view dependent manner (i.e., the sorting order is different depending on where the user views the scene from), and this can be tedious to implement. One technique that is often used to avoid having to do this sorting step is two-pass rendering. Essentially, this works as follows:
Disabling depth buffer writing in step 3 allows transparent objects to be rendered as long as no opaque objects (rendered in the previous pass) occlude them from view, and also prevents transparent objects from occluding other transparent objects since the depth buffer is not updated in the second pass. Note that this technique works in screen space, and is limited by the precision of your depth buffer. There can also be artifacts from the fact that the objects have not been depth sorted, so blending may occur in the wrong order. However, this technique seems to be alright in practice (especially in environments where the user's view changes often so artifacts are not easily noticed) and avoids the performance hit of having to do a sorting step. Sample code for how to do this with Wild Magic is provided in David Eberly's 3D Game Engine Architecture book.
Getting two-pass rendering to work was a bit of a headache. In order to get it to work, I had to disable depth buffer writing using a ZBufferState object that was attached to the scene. When a ZBufferState is attached to a node in the scene graph, it affects all children of that node as well. However, if any children have their own ZBufferState, then that state will override the parent node's ZBufferState. The Wild Magic exporter for 3DS Max automatically adds a ZBufferState to each object you export, and defaults to having depth buffer writing enabled. This means that once you create your scene, you have to either go through and disable all of the ZBufferState objects, or remove them all from the scene. State objects can be removed from the scene using the Spatial::RemoveGlobalState() method, but there was a bug in that function that caused an immediate crash, so I was unable to use that for my assignment (Dave Eberly has since fixed this bug in Wild Magic). I asked Chris Oates to temporarily modify his version of the Wild Magic exporter to not add a ZBufferState to every object, and then I manually added a ZBufferState object to the root node of my scene graph. At this point, two-pass rendering worked as intended.
To create the illusion of moving water and moving clouds, my skysphere is composed of four concentric spheres. The three inner spheres are each 25% opaque to allow the outer spheres to show from the inside. Each of the four spheres is rotating at a different rate. Two spheres rotate in the negative direction about the Z axis, and the other two rotate in the positive direction. This causes the skysphere textures to interact with one another in fairly complex ways and can make it seem as though the water is moving. Unfortunately, this can be difficult to see well in the HMD, but it looks fairly good on a regular monitor. Three of the spheres are textured using the same texture image, and one is textured with a blue sky. Figure 9 is a wireframe view of part of the environment, showing the four different skyspheres in the background.
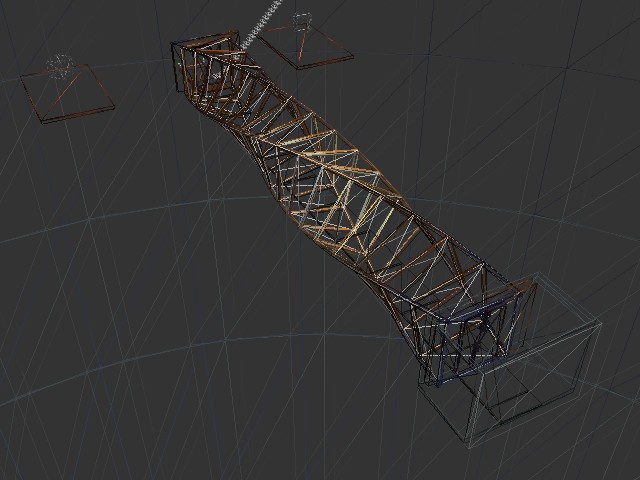 Figure 9: Wireframes are fun! This is a wireframe view of part of the
environment, showing the four different skyspheres in the background.
Figure 9: Wireframes are fun! This is a wireframe view of part of the
environment, showing the four different skyspheres in the background.
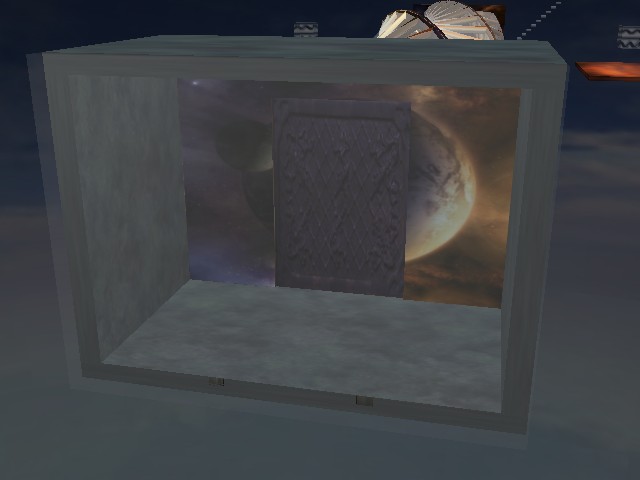 Figure 10: A view from outside the alcove. Note the transparent
back wall.
Figure 10: A view from outside the alcove. Note the transparent
back wall.
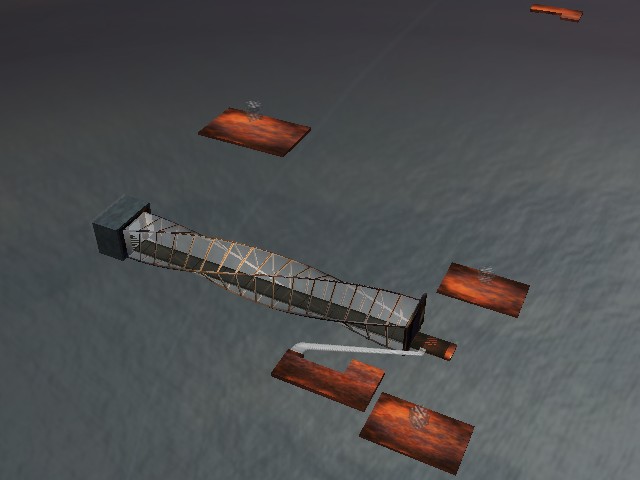 Figure 11: A view of the entire environment from another angle.
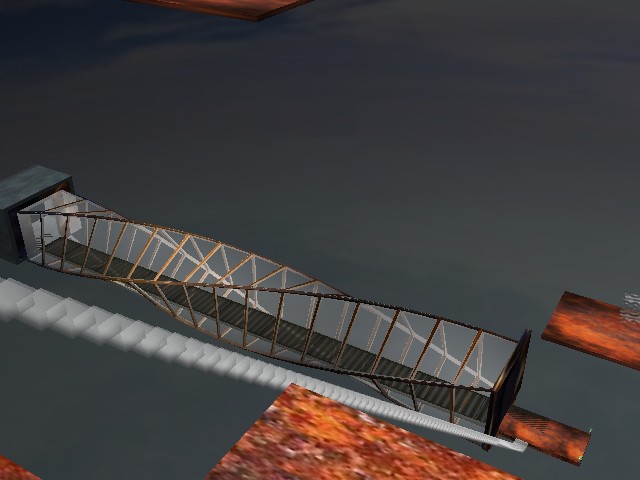 Figure 12: A view of the environment from the platform at the top
of the ridiculously long escalator.
Figure 12: A view of the environment from the platform at the top
of the ridiculously long escalator.
...is available here! You need the Eveil and Wild Magic libraries to build it.