
This file has detailed images and notes on the disassembly. Entries are not noted by date as the sequence of the work is recorded elsewhere.
This file last updated on: Saturday, November 27, 2004
.
|
|
|
|
|
|
Rear Body:
Mounting Brackets for rear body panels (little brackets that go between frame and body panels are in a hardware bag.
 Rear body panel mounting bracket. One on each side. |
 One of the tie downs in place. One, each side in this location. |
Front Body:
Attachment: Driver's Right: modified support to body makes wrench/socket access to bolt head very awkward. Nick undid it a little from underneath, then once part of the bolt cleared the support, he was able to get a better tool on it
Doors:
The door hinges have two (each side) very long, thin pins through them. They are in a plastic box.
Miscellaneous:
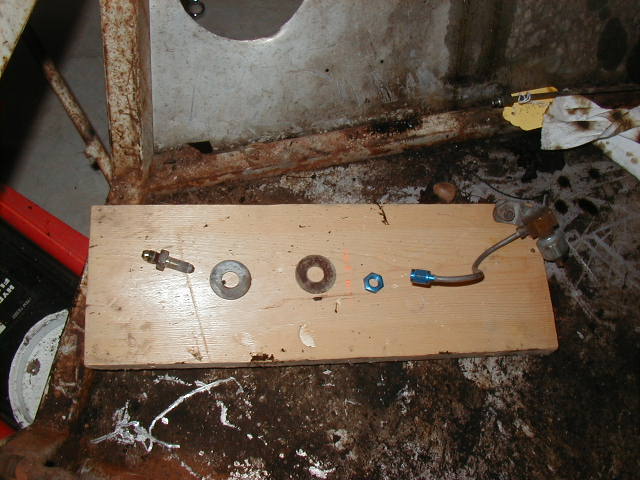
Hardware for 6? tie downs removed and bagged.
We discarded the rubber matting that was on top of the side pods.
The side pods were lengthened forward of the battery compartment. You can see it in both the top of the pods and on the inside of the pods.
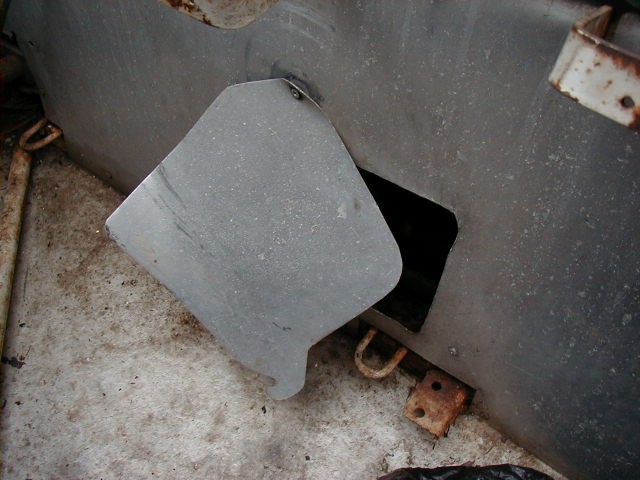
Trim from around 3 sides of battery entry hole is saved. Wingnut and long screw that held battery cover down were removed and bagged.
Fire Bottle mount was removed. Mounting hardware is in a bag; bottle mount is in with bottle and the old seatbelts.
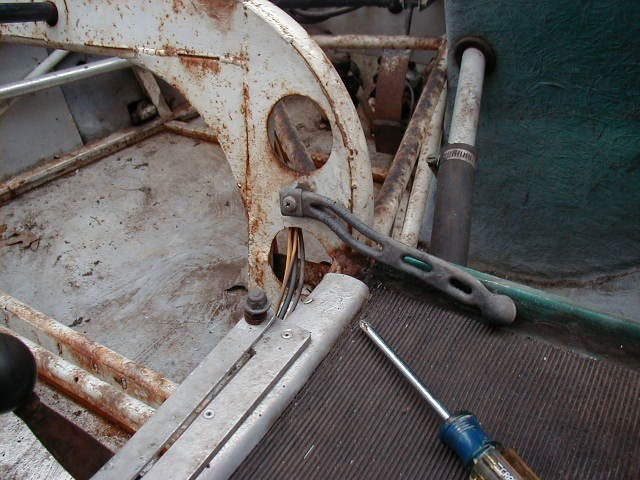
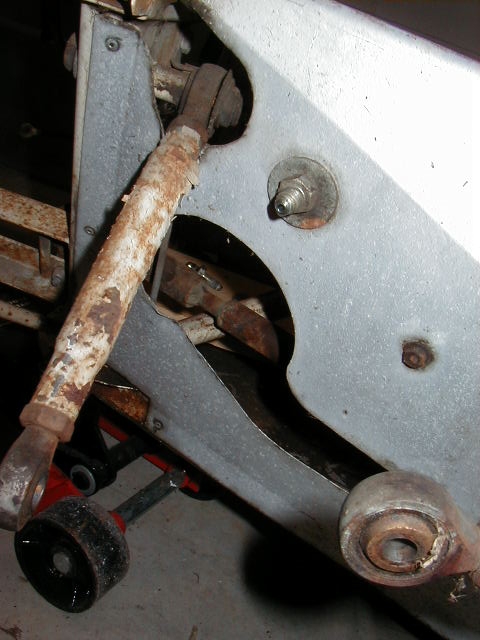
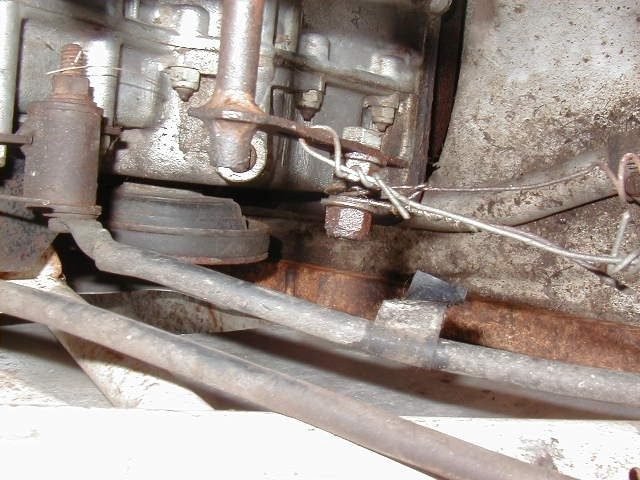
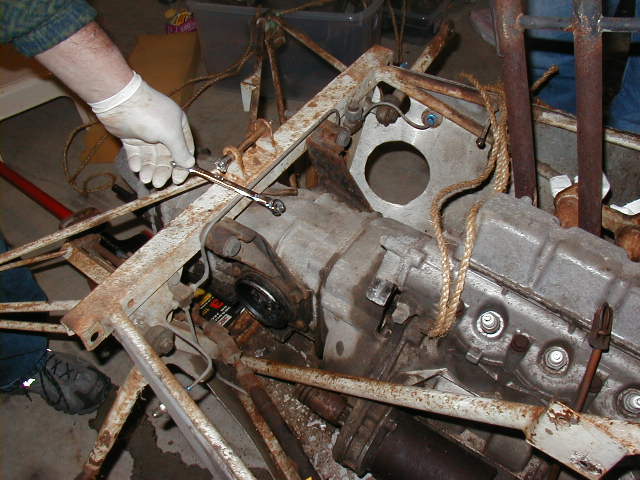 Rear brake line crossing transmission |
||
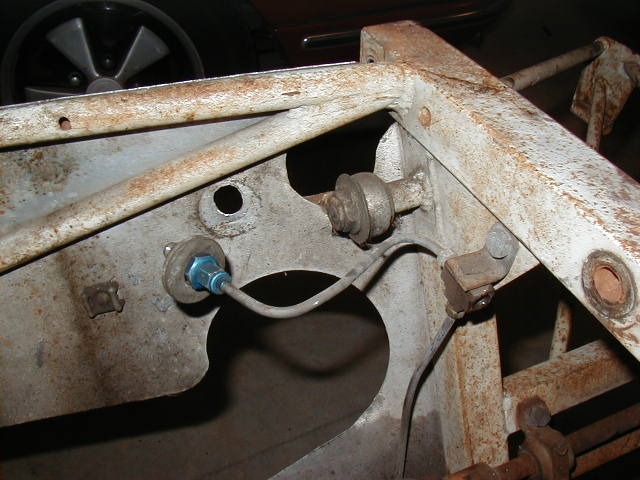 Right rear brake line exits chassis |
 The left rear attached similarly except that instead of the T connector, there is the brake light switch which is more of a pass-through. There are pictures of it with the "switches" |
 Right Rear: Note the T connector where the piece of brake line that crosses the transmission along the forward side of the cross piece attaches. |
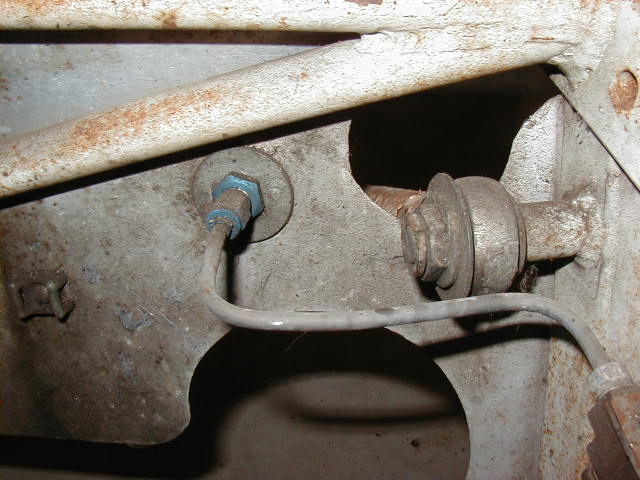 |
 Outside of the brake line |
 Assembly order. This is the LR set. Tthe brake light switch (greyish) is at arrow. The hydraulics feed through the brown part below the switch (it is a single assembly). |
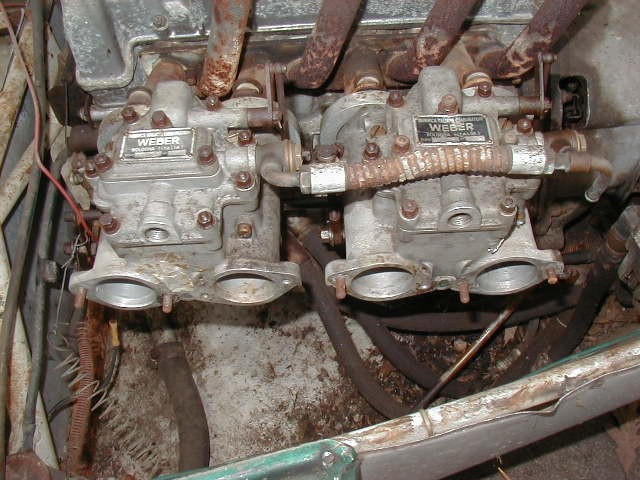
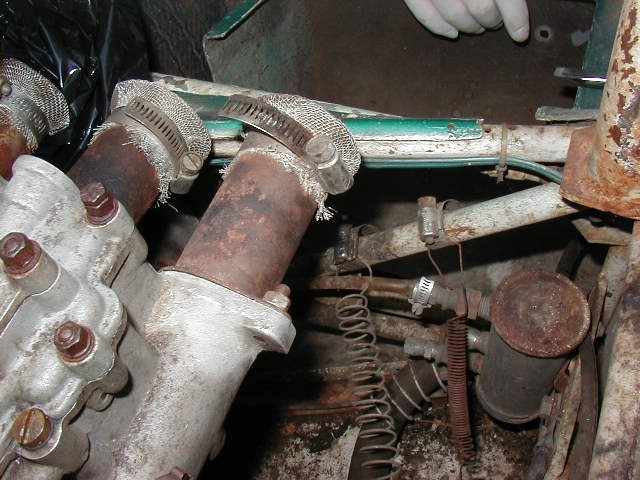
Carbs
 |
 |
 |
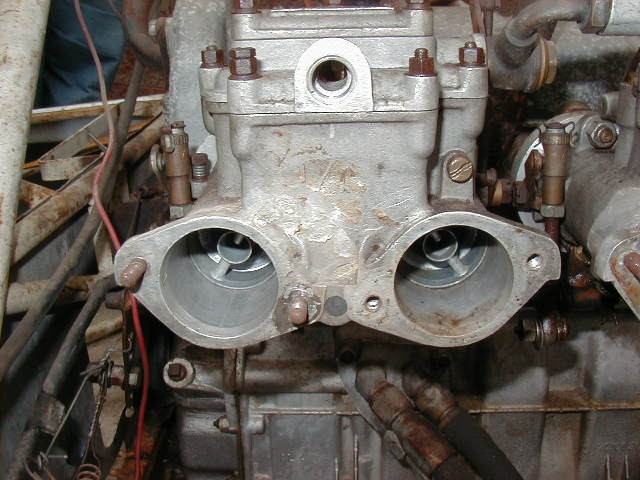
 Carbs with venturies off |
 l |
 |
|
carbs,spacers, manifold |
Throttle Springs
 |
 |
 |
Chassis is nearly watertight at each of the cross-members on the floor. We had to use the shop vac to get the water out.
Note for reassembly: The V-shaped gusset at the intersection of the old and new roll bars (outside, driver's right side) is water tight. This is probably not a Good Thing.
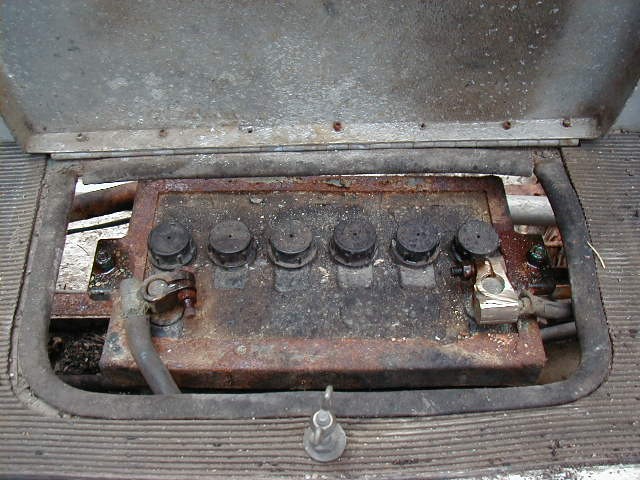
Two instruments (tach and water temp) removed and bagged with hardware. Oil pressure left attached to its cable; but loose from the instrument panel. Tape over open end of line.
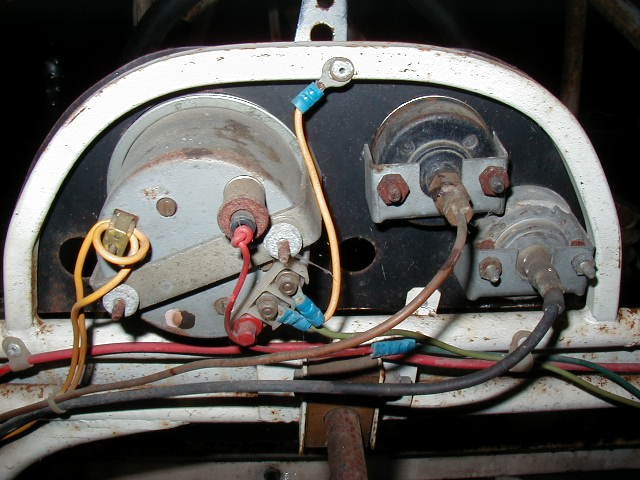 |
Left: Instrument panel from rear. The water temp gauge, wire, and sensor are still all in one piece. The oil pressure gauge connector on the engine block is tagged. Need photo. The piping is loose and lightly coiled and is more or less in bin with other gauges and switches. | |
 Dash board Lights switch |
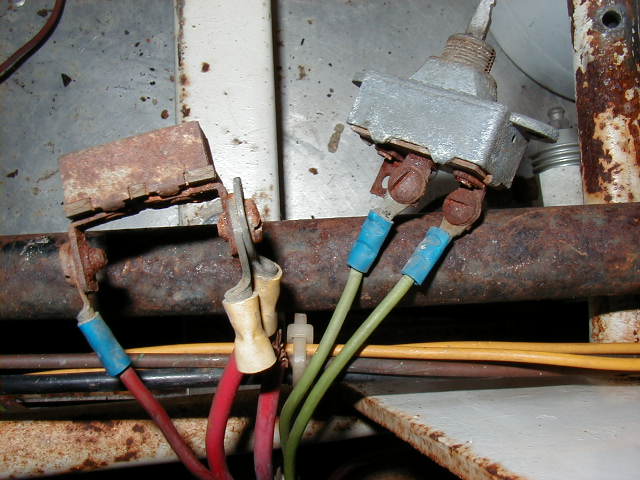 Ignition and starter switches: driver's right on pod top. There is a pre-disassembly photo that shows which one was outboard (it is the one with the longer handle on it). |
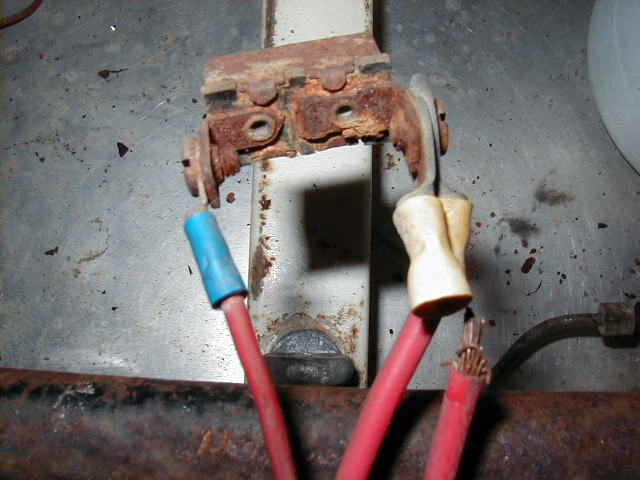 Ignition Switch: Driver's right on pod top |
 Headlamp switch; forward of radiator (visible upper ledt) |
 Rear Lamp connector plug; Right side? Ask Nick or check the bodywork to see which side it is on. Nick may remember where it was. |
Trim from around 3 sides of battery entry hole is saved. Wingnut and long screw that held battery cover down were removed. They are in a bag.
Frame that held top of battery is in tub with the trim and the gas tank tie down.
 Battery in place |
 |
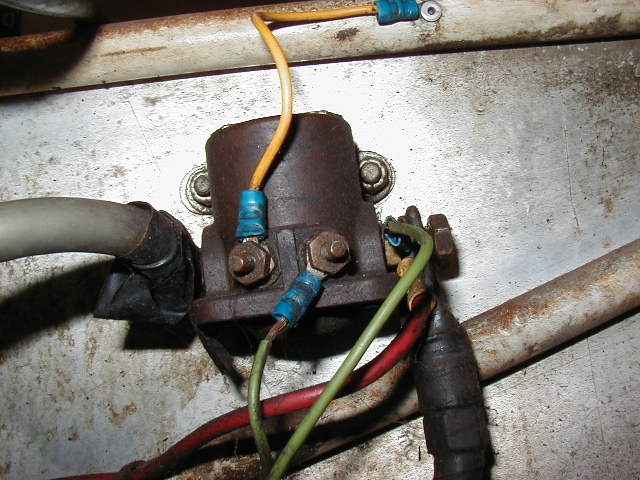
TO BE DETERMINED: Is the car positive ground? |
 |
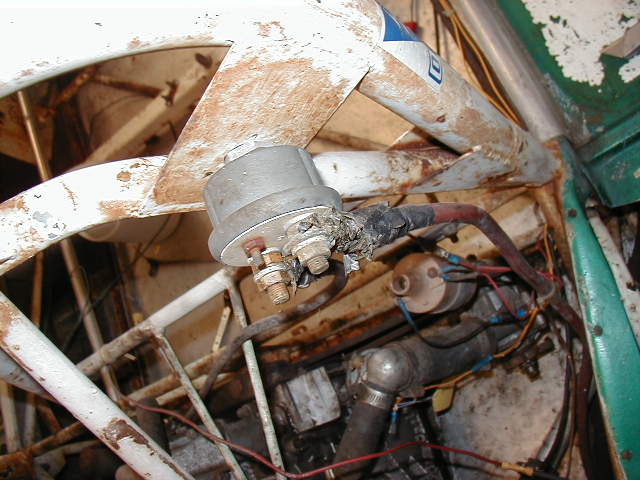 Master Switch: between old and new roll cages |
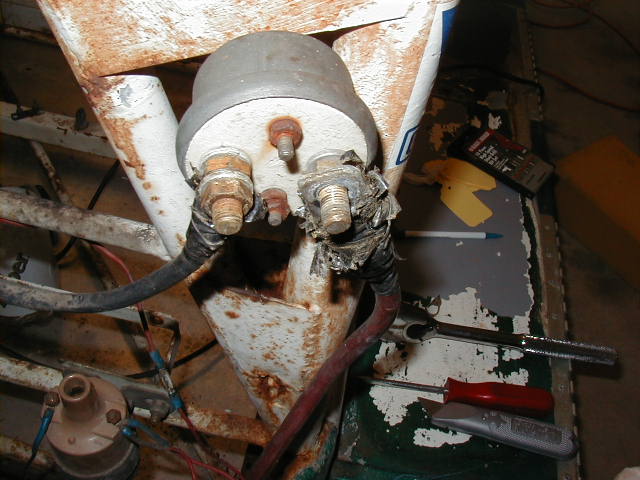 Master Switch from rear |
 White arrow to gray wire to starter motor |
 |
|
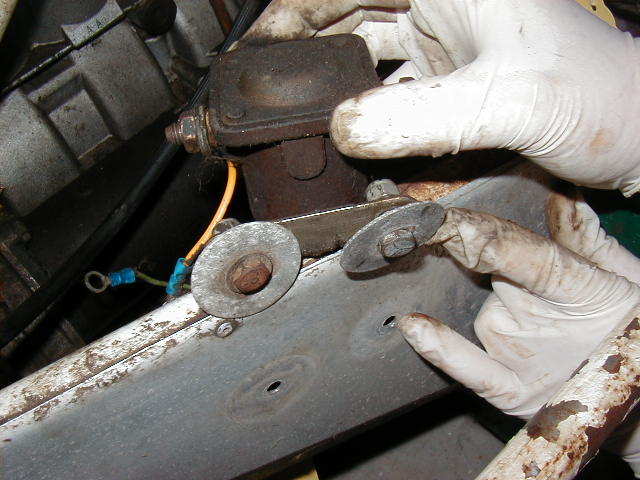 Mounting shown from outside. Washers went outside. |
 Inside with relay removed. Water temp sensor shows, upper left. |
|
Tank tie down is in tub with battery tie down. There is a tab on the frame to which the tie down is bolter. The tab is welded, so can't be removed easily (so we left it there). There should be a photo.
 This is inside the chassis on the left side. The water plumbing shows
above the connector.
This is inside the chassis on the left side. The water plumbing shows
above the connector.
Old Seat and Belts: Old seat is loose; old belts and hardware are in a tub with the firebottle.