Assignment 5 - Image Processing
Due: Friday, February 7, 2020, at the start of class
You may work alone or with a partner, but you must type up the code yourself. You may also discuss the assignment at a high level with other students. You should list any student with whom you discussed the assignment, and the manner of discussion (high-level, partner, etc.) in a readme.txt file that you include with your submission.
You should submit your assignment as a .zip file on Moodle.
You will do all of your work in a single file, imageProcessing.py. You should download this “skeleton” version, and save it as imageProcessing.py in a folder that also has graphics.py.
Parts of this assignment:
Note on style:
The following style guidelines are expected moving forward, and will typically constitute 5-10 points of each assignment (out of 100 points).
- Variable names should be clear and easy to understand, should not start with a capital letter, and should only be a single letter when appropriate (usually for
i,j, andkas indices, potentially forxandyas coordinates, and maybepas a point,cfor a circle,rfor a rectangle, etc.). - It’s good to use empty lines to break code into logical chunks.
- Comments should be used for anything complex, and typically for chunks of 3-5 lines of code, but not every line.
- Don’t leave extra print statements in the code, even if you left them commented out.
- Make sure not to have code that computes the right answer by doing extra work (e.g., leaving a computation in a for loop when it could have occurred after the for loop, only once).
Note: The example triangle-drawing program on page 108 of the textbook demonstrates a great use of empty lines and comments, and has very clear variable names. It is a good model to follow for style.
Note: For this assignment, it is okay for some of the functions you implement to be incredibly similar to each other – this code duplication is deliberate, and we will talk in class about how to reduce it greatly.
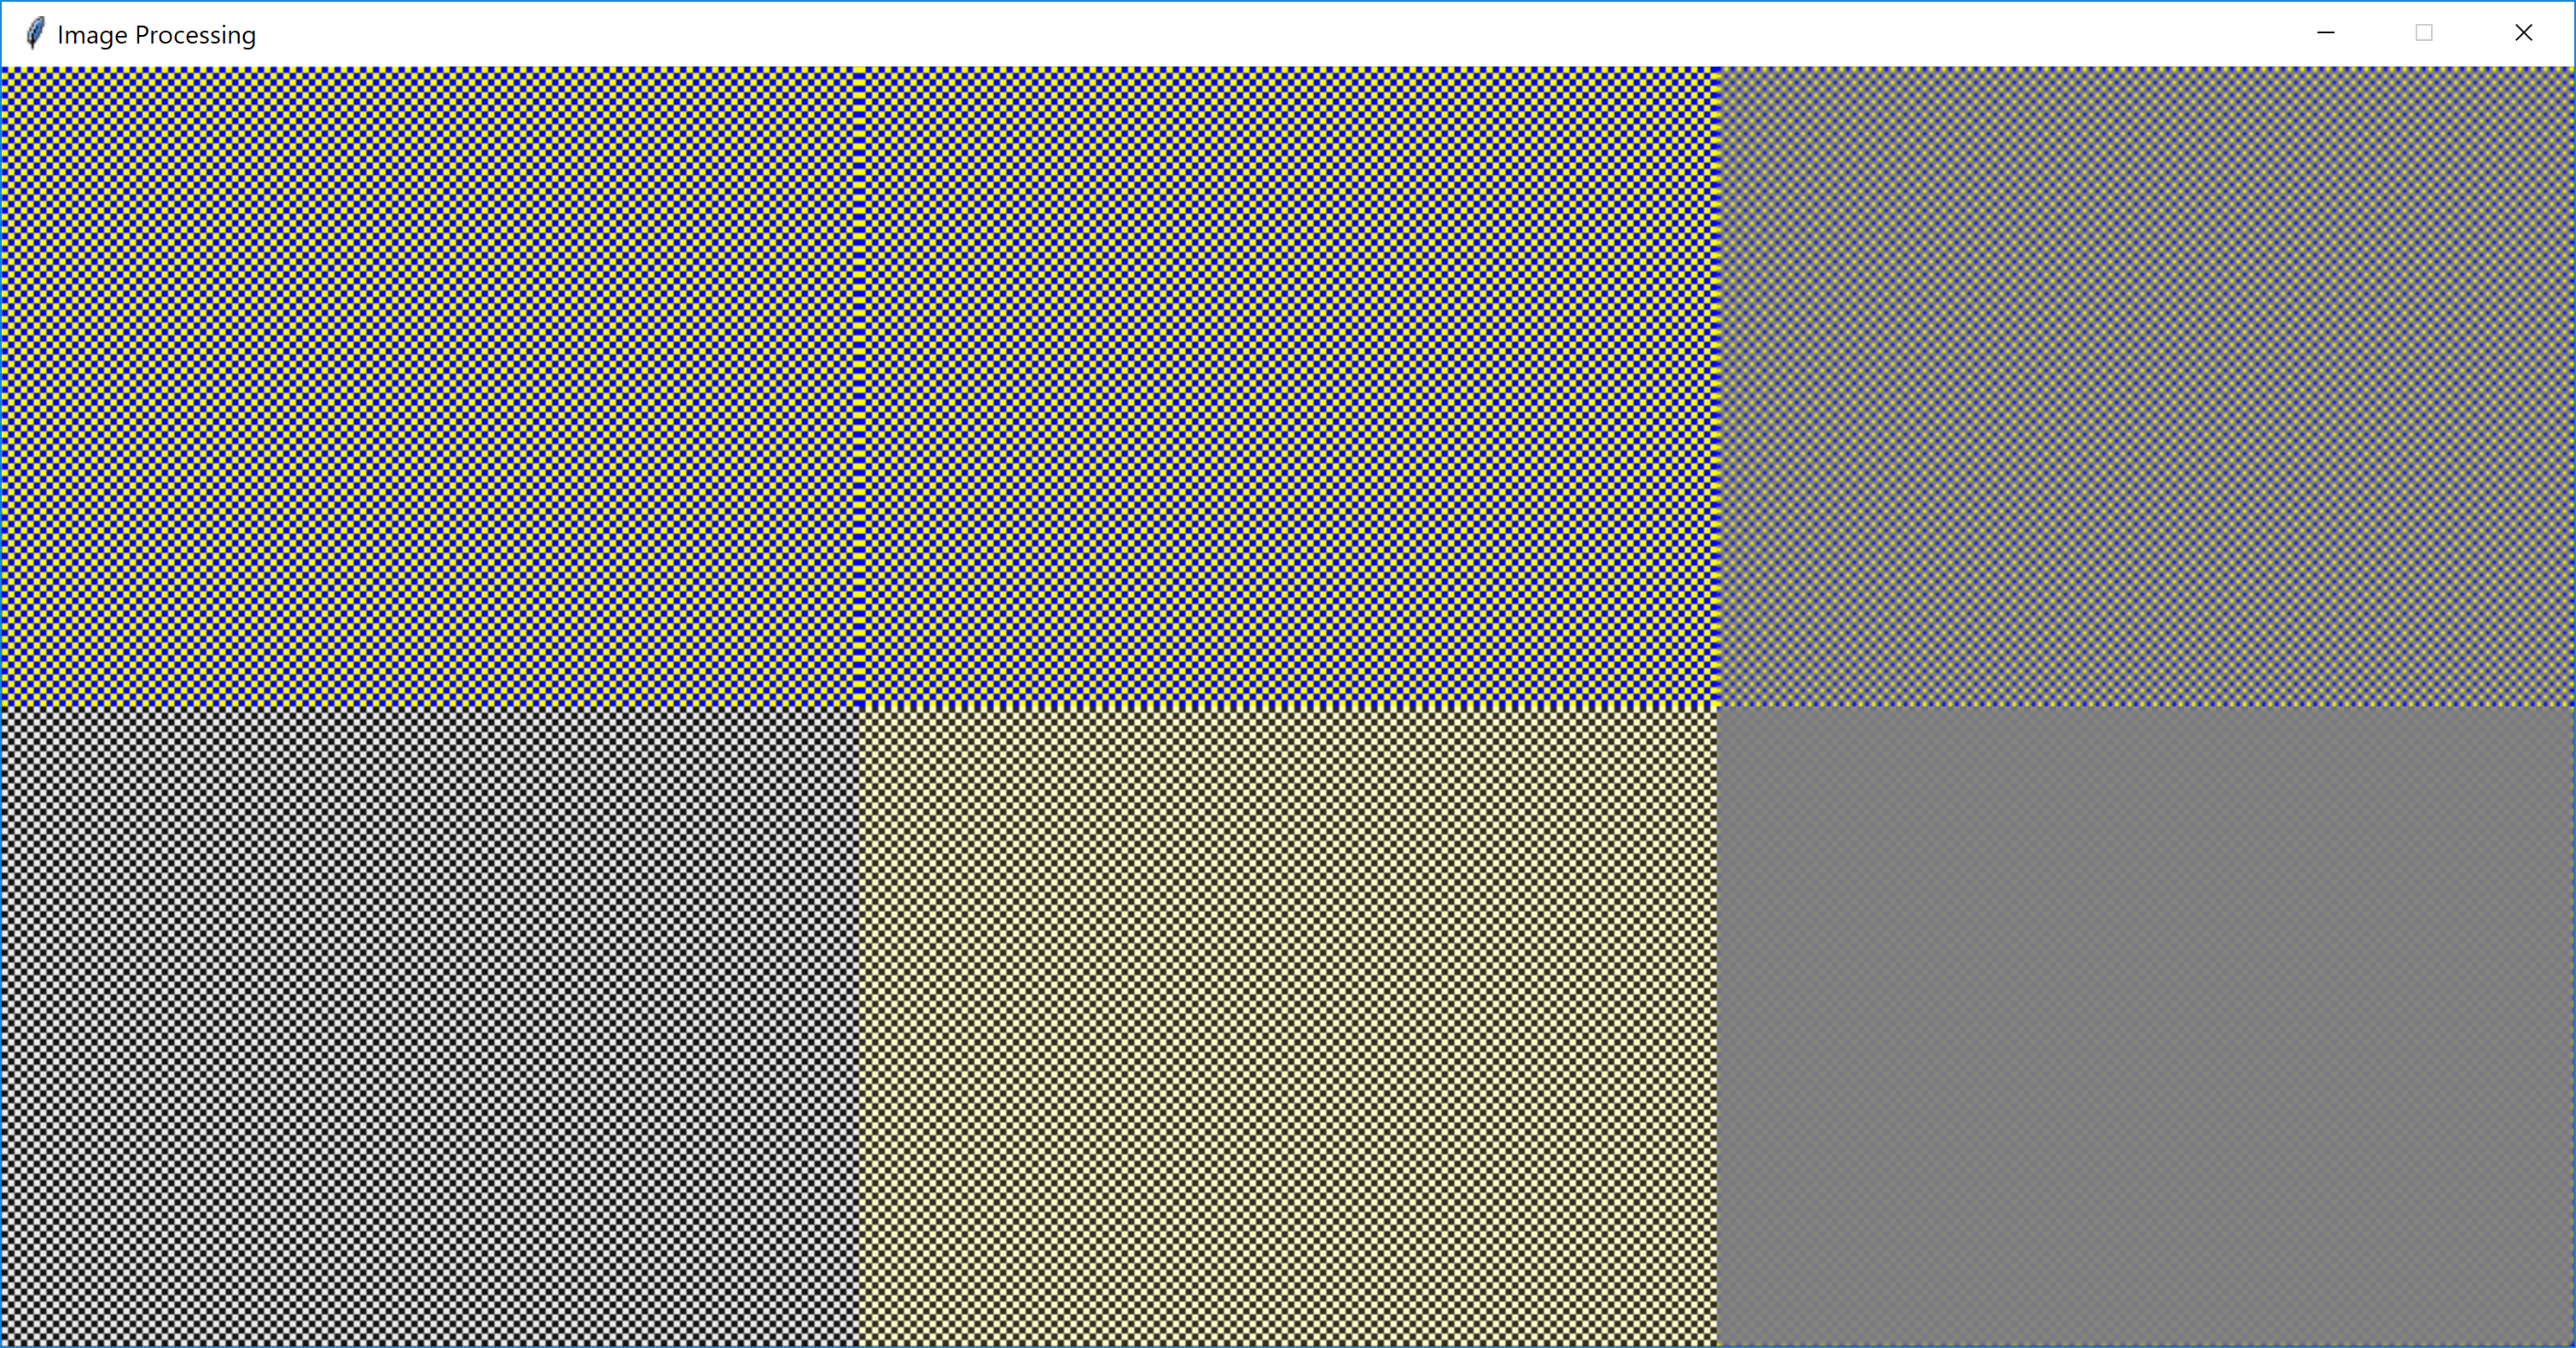
Here is an example image after you have completed all parts of this assignment. Make sure to try it out on an image of your own! (Note that it seems that the image has to be a .gif or maybe a .png file unless you install additional libraries.) Also, it’s a good idea to use fairly small images for this assignment, so you can view all six versions of the image at once. An image no larger than 400x300 would be a good choice – you can use many freely available programs to resize an image.

Problem 1: Inverting an image
# You should be fully equipped to complete this problem after lesson 13 (Monday Feb. 3).
Before you get started, read through the code. Anything with a # TODO is something you’ll need to complete. For this first part, you will implement two functions.
def getInverseColor(image, x, y):
    """
    Converts the pixel to its inverse by taking the complement of
    each color channel.

    returns: the result of color_rgb
    """
    # TODO: Problem 1
    return None # replace with your code
This function should choose a color that is the inverse of that at pixel (x,y) in the parameter image.
Additionally, you should implement the createInverseImage function:
def createInverseImage(origImage):
    """
    Creates a copy of the original image, and inverts its colors.

    returns: the inverse image
    """
    # TODO: Problem 1
    return Image(Point(0,0), 1, 1) # replace with your code
Before you dive into the code for this problem, think carefully about how it differs from converting an image to grayscale, or drawing an image in which every pixel is blue.
Problem 2: Changing to sepia tone
# You should be fully equipped to complete this problem after lesson 13 (Monday Feb. 3).
For problem 2, you should implement functions to construct a sepia-toned image. This is very similar to the grayscale image, but the formula for a given pixel is different.
def getSepiaColor(image, x, y):
    """
    Converts the pixel to sepia tone using the following formula:
       newR = 0.393*r + 0.769*g + 0.189*b
       newG = 0.349*r + 0.686*g + 0.168*b
       newB = 0.272*r + 0.534*g + 0.131*b

    Note that if any value is over 255, it must be capped at 255.

    returns: the result of color_rgb
    """
    # TODO: Problem 2
    return None # replace with your code
def createSepiaImage(origImage):
"""
Creates a copy of the original image, and colors it sepia toned.
returns: the sepia image
"""
# TODO: Problem 2
return Image(Point(0,0), 1, 1) # replace with your codeProblem 3: Blurring an image
# You should be fully equipped to complete both parts of this problem after lesson 13 (Monday Feb. 3).
For the final problem, you will implement functions to blur an image. In parts (a) and (b) you will implement two pairs of functions that blur at different granularities.
Part a: A little blurry
Everything we’ve done so far to manipulate images has taken the color at a given pixel and used that to choose the color at the same pixel in the new image. To blur an image, we need to consider more pixels in the original.
The image below on the left represents what you did in Problems 1 and 2. A given pixel in the new image was based on the color from just a single pixel in the original. The image on the right represents the kernel used to blur the image. For a given pixel (shaded in blue), you should take the average of each of the red, green, and blue color channels for that pixel and its eight neighbors from the original image. The 1 in each cell represents that it is not a weighted average, but rather that you treat each pixel in the average equally.

What makes this challenging is handling the edge cases (literally). The image below shows two edge/corner cases for a kernel that is 3x3 pixels.

You will get most of the points for this problem if you handle all of the inner pixels correctly, but simply use the original color for the one-pixel-wide border of the image.
For part (a), you should implement these two functions:
def getBlurryColor(image, x, y):
    """
    Chooses a color to blur an image by taking the average
    across each color channel (R/G/B) of the 3x3 square of
    pixels centered at (x,y).

    Note that if (x,y) is on a border, it should only average
    the 6 squares centered at that pixel (4 if it is a corner).

    returns: the result of color_rgb
    """
    # TODO: Problem 3a
    return None # replace with your code
def createBlurryImage(origImage):
"""
Creates a copy of the original image, and blurs it.
returns: the blurry image
"""
# TODO: Problem 3a
return Image(Point(0,0), 1, 1) # replace with your codePart b: B bit blurrier
For part (b), you should create an even blurrier image by averaging over more pixels. Rather than a 3x3 kernel, you should use a 5x5 kernel to implement these two functions:
def getBlurrierColor(image, x, y):
    """
    Chooses a color to blur an image by taking the average
    across each color channel (R/G/B) of the 5x5 square of
    pixels centered at (x,y).

    Note that special cases when the 5x5 square would
    include pixels not in the image must be handled with care.

    returns: the result of color_rgb
    """
    # TODO: Problem 3b
    return None # replace with your code
def createBlurrierImage(origImage):
"""
Creates a copy of the original image, and blurs it a lot.
returns: the blurrier image
"""
# TODO: Problem 3b
return Image(Point(0,0), 1, 1) # replace with your codeNote that in this case, there are even more corner/edge cases to consider.

As before, you will get most of the points for this problem if you handle all of the inner pixels correctly, but simply use the original color for the two-pixel-wide border of the image.
Testing your code
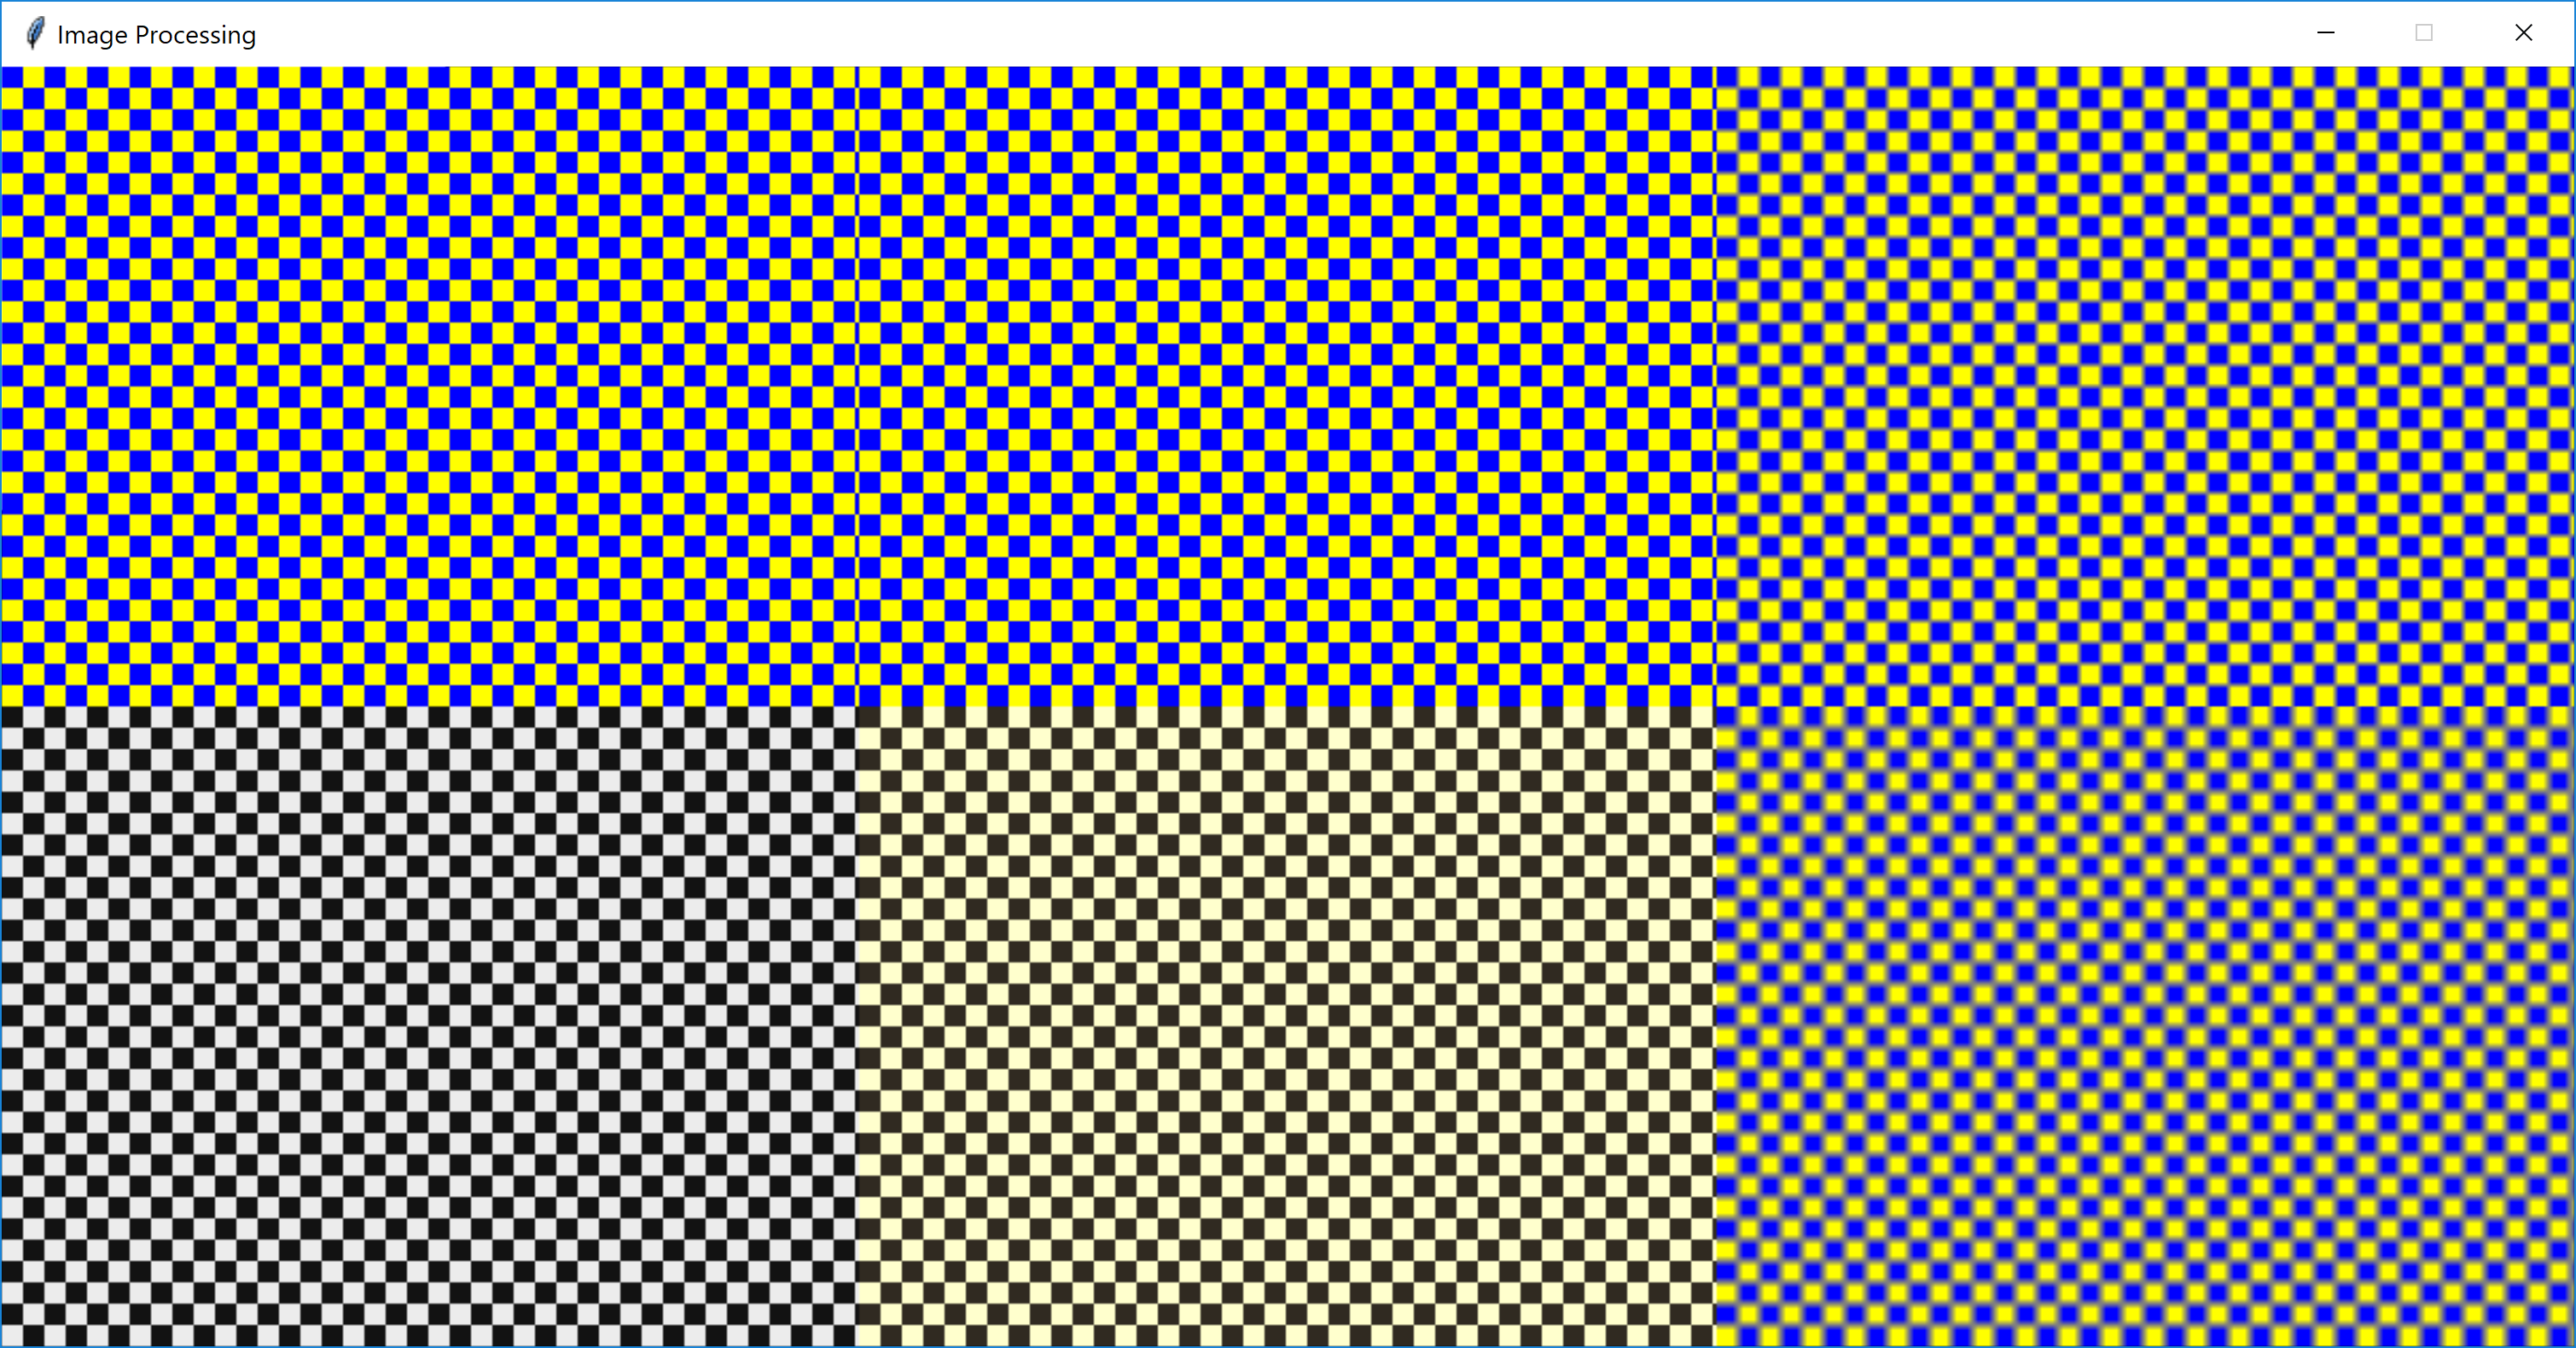
The squash image isn’t the greatest to test your code. Here are a few you can try, too:
- 3x3 squares of blue and yellow: input and output
- 10x10 squares of blue and yellow: input and output
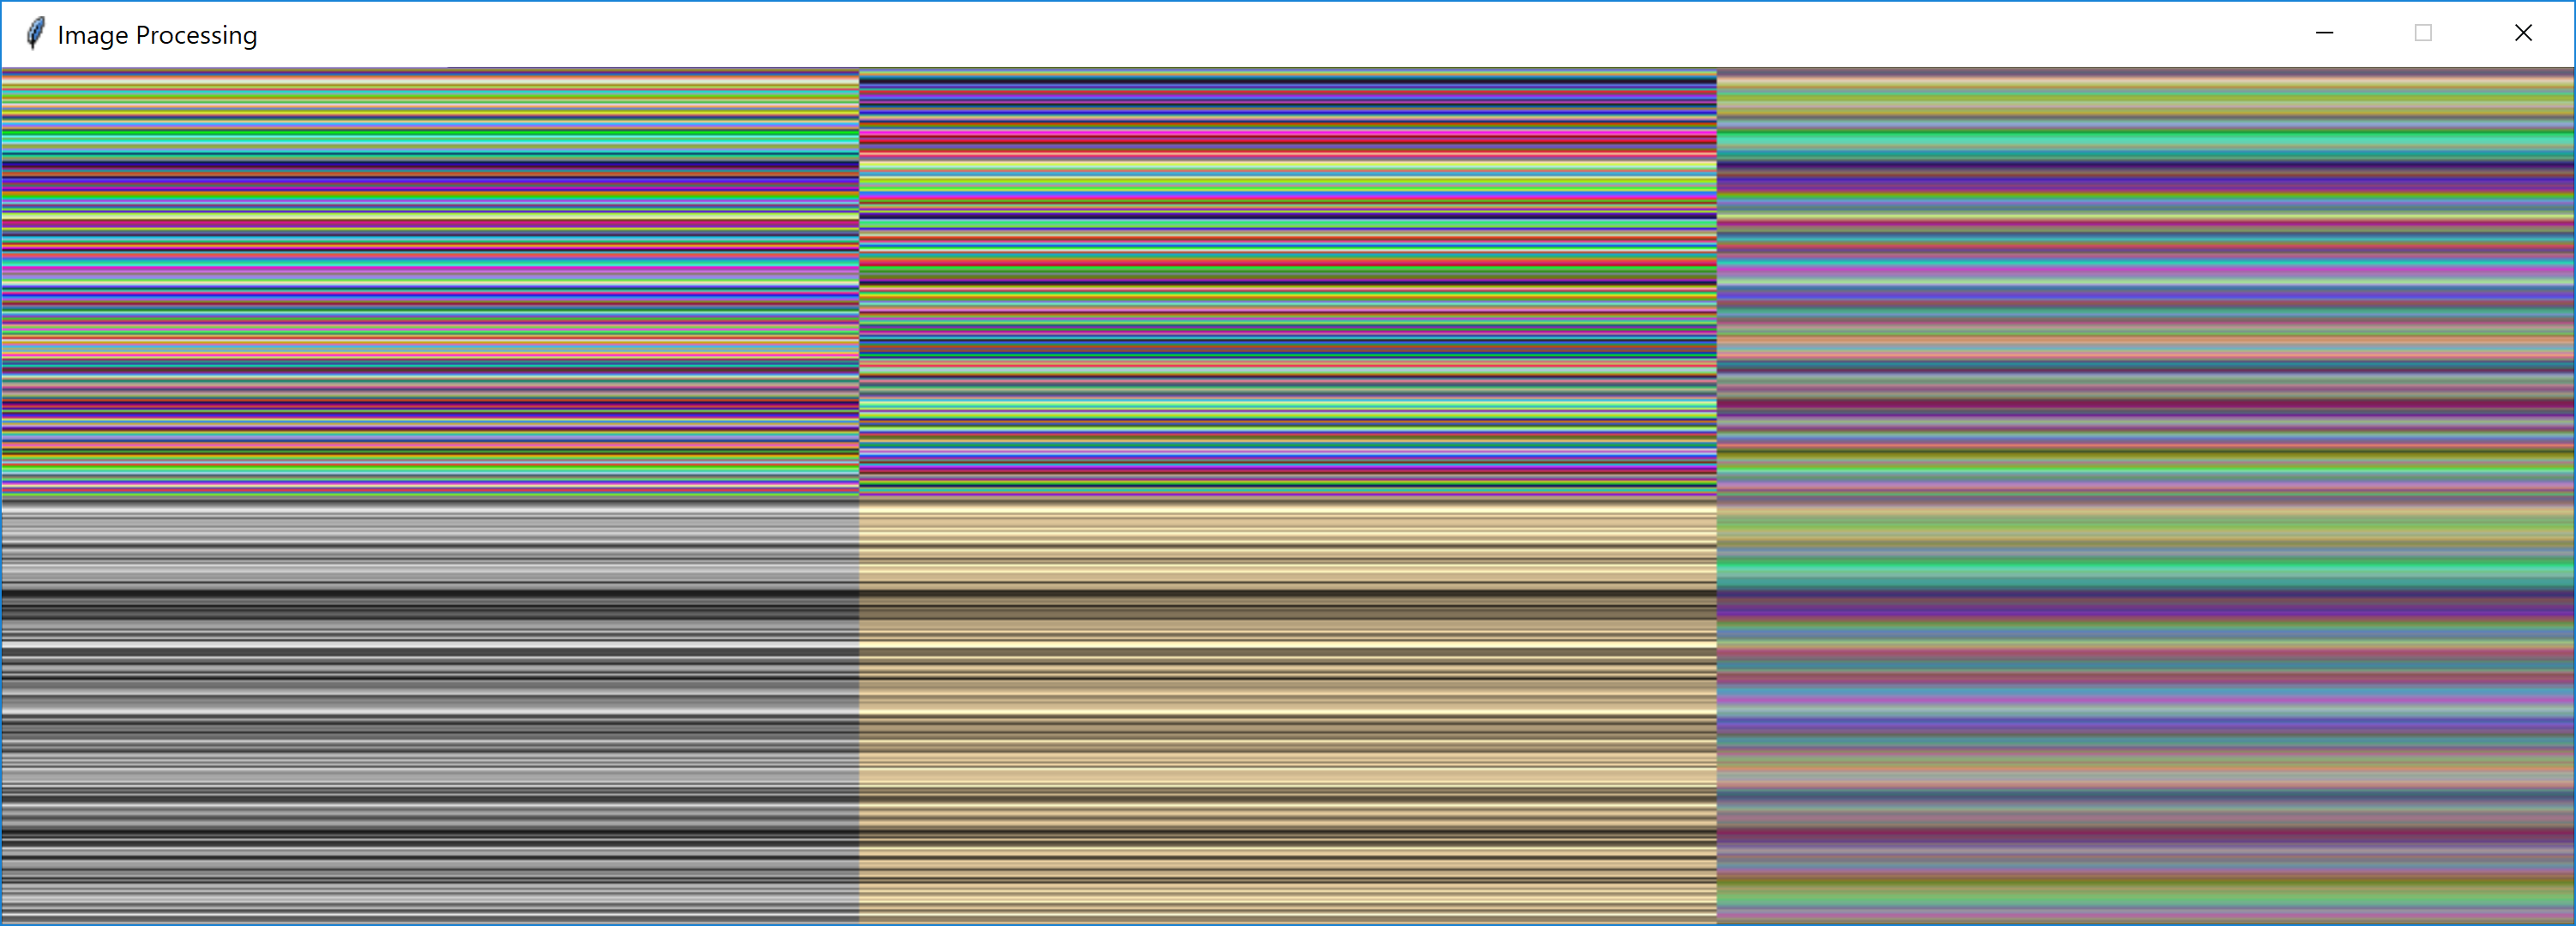
- random rows: input and output
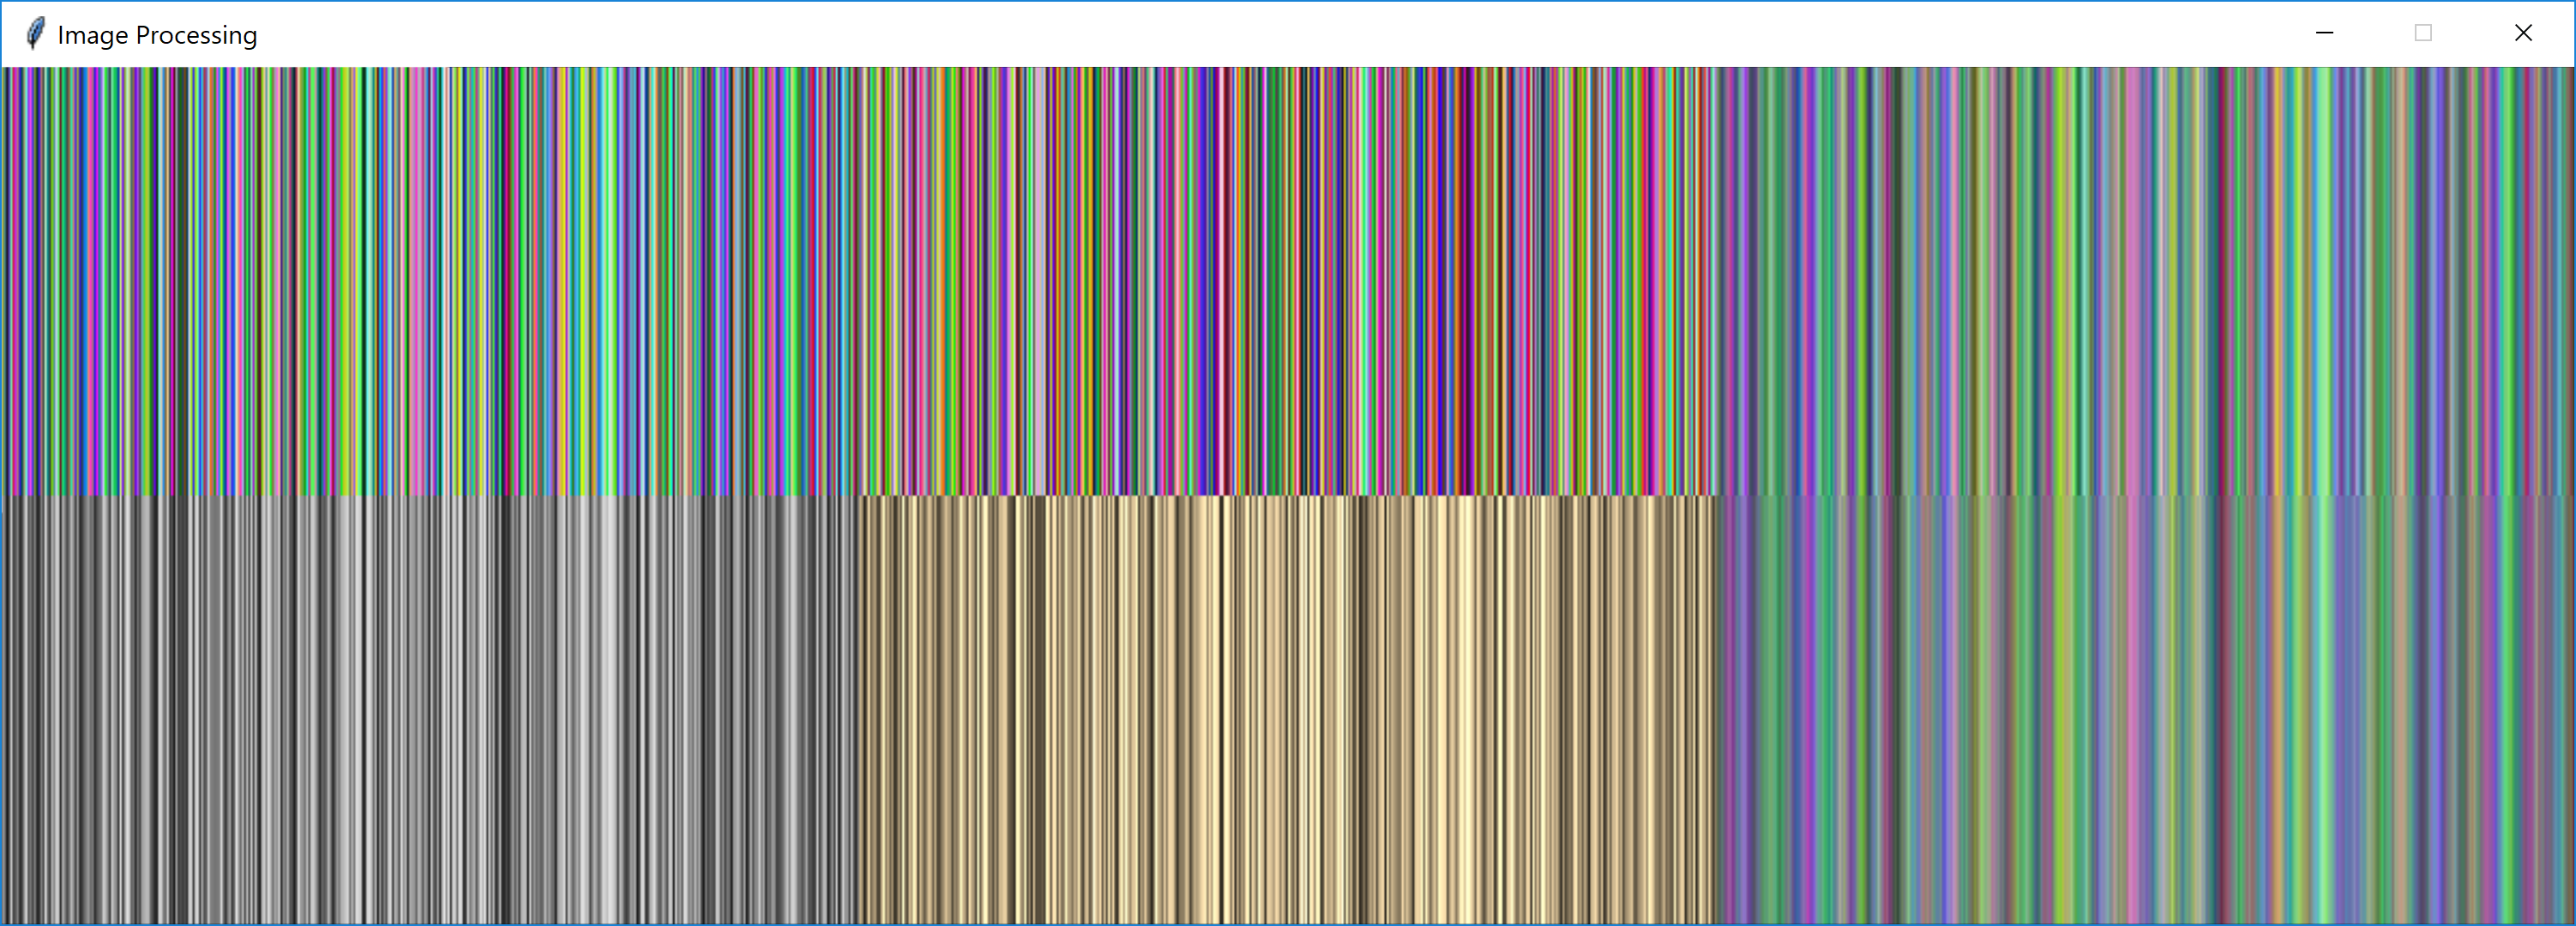
- random columns: input and output
- random pixels: input and output
What you should submit
You should submit a single .zip file on Moodle. It should contain the following files:
readme.txt(collaboration statement listing collaborators and form of collaboration)imageProcessing.py(all problems)